


Installation Instructions For NS16R Nitro-Save® Humidity Control Retro-Fit Kit

PARTS INCLUDED:
- Monitor/Solenoid
- Wire Set
- AC Adapter
- Screws for Unit / 4 pcs.
- Wire Ties
- Air Tubing
- Elbow
- Acrylic Plug
- 6-32 Plug Tap
- #36 Drill Bit
- 3/16″ – 1/2″ Step Drill Bit
- Manual and Calibration Certificate
Do Not Exceed 100 PSI
INSTRUCTIONS
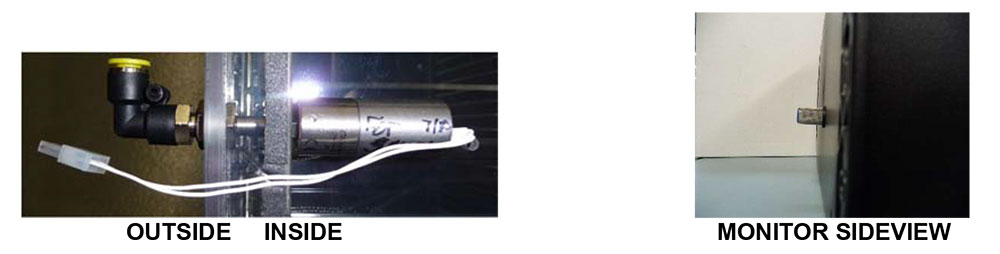
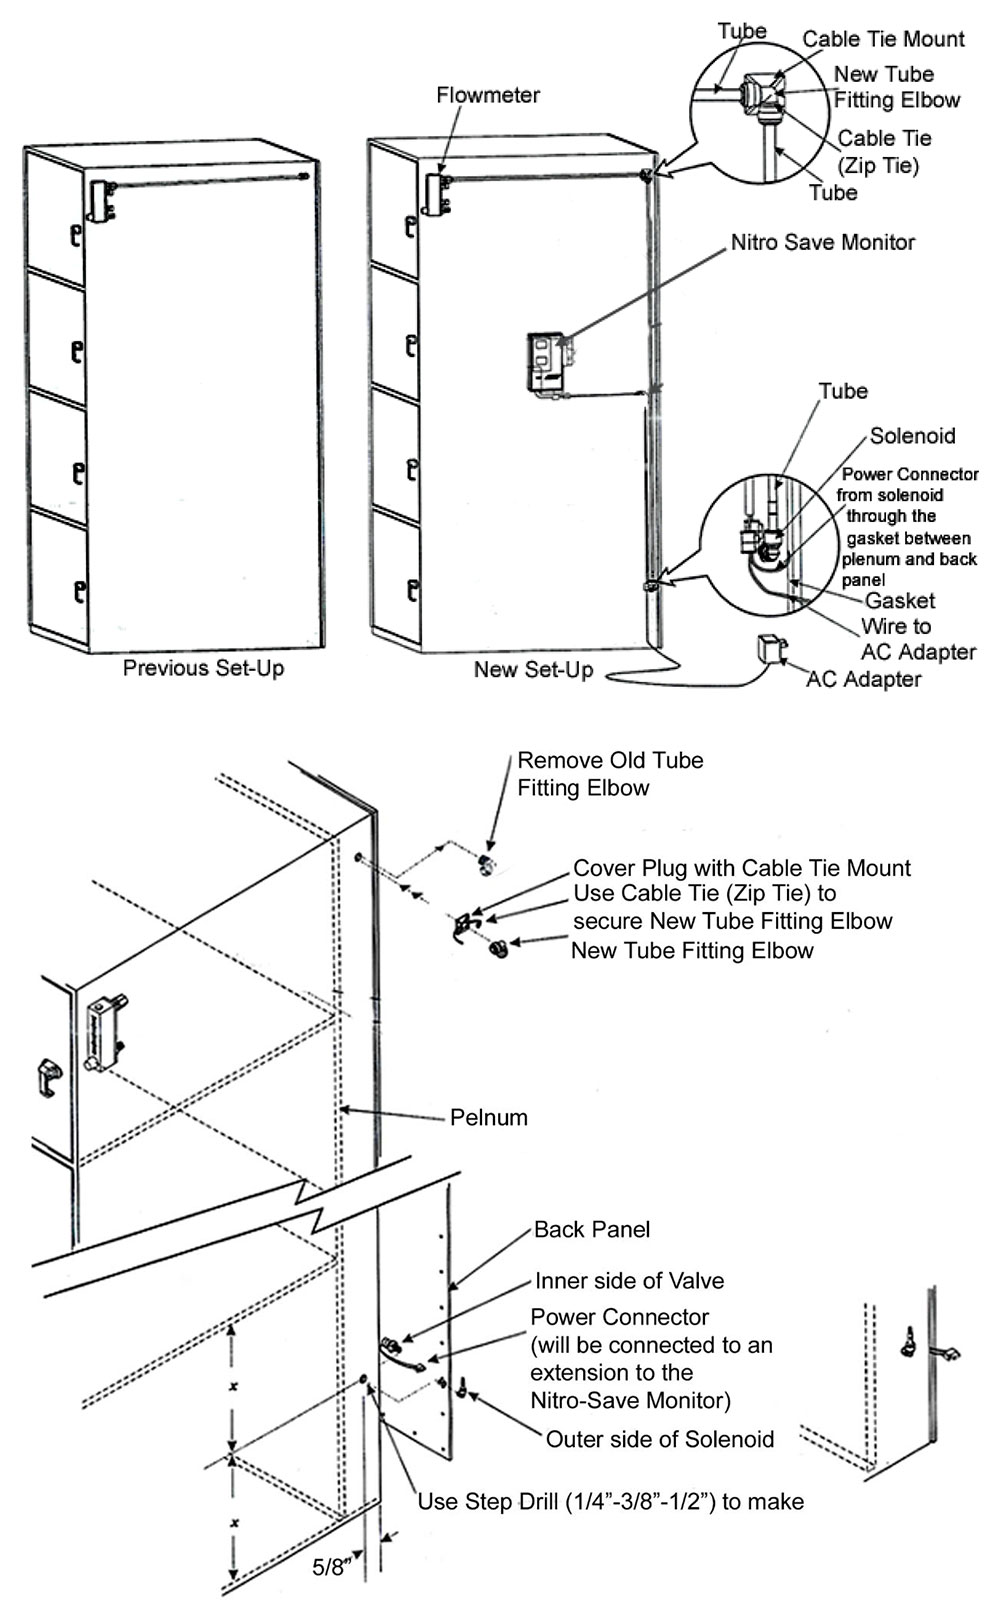
- Remove flowmeter elbow
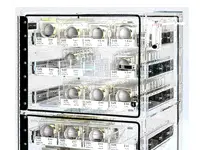
- Determine the location for your Nitro-Save® Unit (as close to center as possible)
- For even number compartments, place the Nitro-Save® on the second compartment down from the top (as shown on diagram).
- For odd numbered compartments, place the Nitro-Save® on the middle compartment.
- Using the Step Drill Bit, Drill 7/16″ hole for Nitro-Save® sensor probe.
- Drill and tap bracket holes for Monitor (#36 Drill Bit & 6-32 Tap).
- Mark the location for your solenoid on the side of the plenum chamber as shown.
- Remove the cabinet from stand and place on a flat surface.
- Remove the back wall.
- Drill 1/2″ hole in the sidewall for the solenoid (Step Drill Bit 1/2″).
- Attach Solenoid
- Clean the debris from the plenum chamber and re-install the back wall.
- Hold the monitor against the sidewall with the probe inserted into the hole.
- Attach with screws.
- Connect the wires as shown in the diagram.
- Trim the air tubing to the correct size and attach tubing & elbow.
- Use wire ties as needed to neatly hold wires & tubing.